The 1st class project I designed for my class Create with Collage in the winter 2020 term at the Pelham Art Center, Pelham, NY, was about the color green. I asked students to be inspired by sample images I brought images to class from two artists: Richard Diebenkorn and Beatriz Milhazes. See the images below.
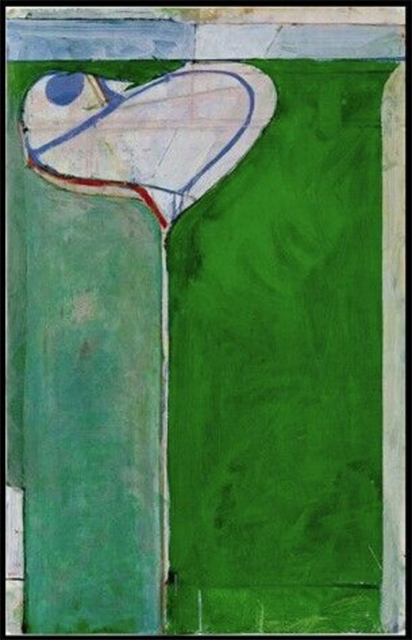
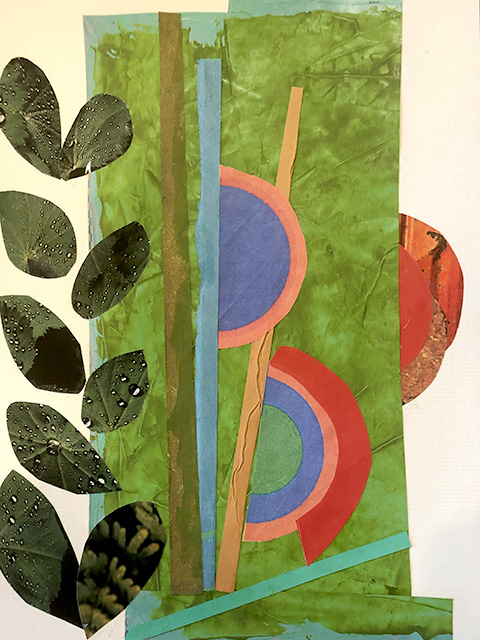
The Diebenkorn image (above) is abstract, geometric and has a vertical, linear design with borders, top and sides and a loopy white shape within green fields (near the top). Overall, it has the feel of a landscape. The two green fields have the look of watercolor, are in different tones of green, and are divided by a white line down the middle. The circular element in the top of the landscape could be a sports field.
I told students, if they were inspired by this image, not to copy but to interpret the design and pay attention to the shapes, the variations in colors, and their relationships to each other. I brought painted papers and they looked in magazines for papers with the colors they wanted to use.
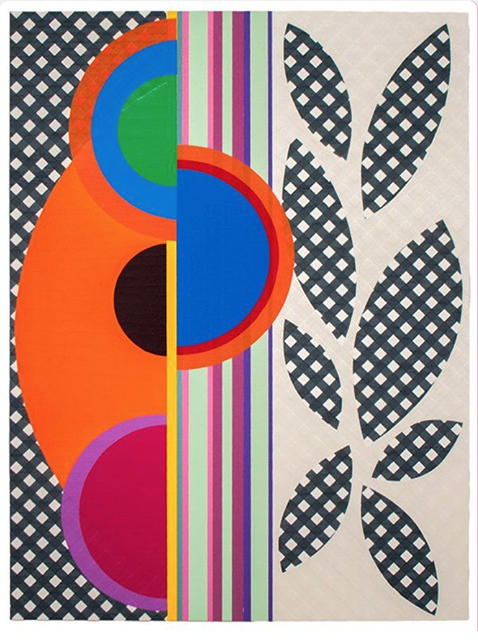
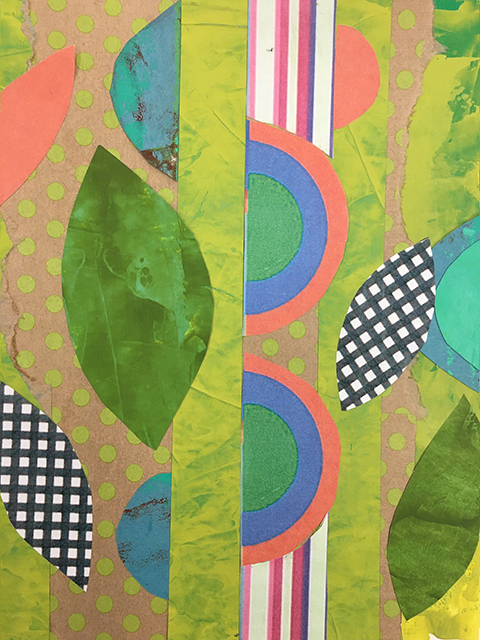
The Milhazes image (above) is a painting that looks like a collage. The shapes on the right side of the abstract design look like scissor-cut B&W leaf shapes. There are thin vertical strips in contrasting colors down the center of the design, and curvy half-circle shapes in bold colors (blue, green, mauve and orange) on the left side. I suggested to the students that they use the color green instead of black and white for the leaf shapes (I brought catalogues with leafy images) , and said Milhazes is from Brazil and her works are about nature and the tropical environment in Brazil.
Both the Diebenkorn and the Milhazes design are divided down the center.
The first response to the 2 images from many students was: I don’t like the color green. But, I urged them to explore variations in colors and they did learn to work with green. Their images (below) are lush and green.
Since it was the 1st class and several of the students were new, I did a demonstration for how to glue papers to the substrate (bottom layer). We used Bristol paper as a substrate. It was 14×11 inches and they worked their collage in a vertical format. I brought green painted papers, magazines and botanical catalogues to class. We had PVA white glue, brushes, scissors, rulers (I showed how to use a ruler to cut papers into strips), pencils and squeegees to press collage papers down.
Below are 9 student images (in order): Elise Falkenberg, Estelle Laska, Harriet Goldberg, Hildy Martin, Ilene Bellovin, Nelly Edmondson, Stephanie Greenberg, Marlene Furtick and Nicole Eisenberg.

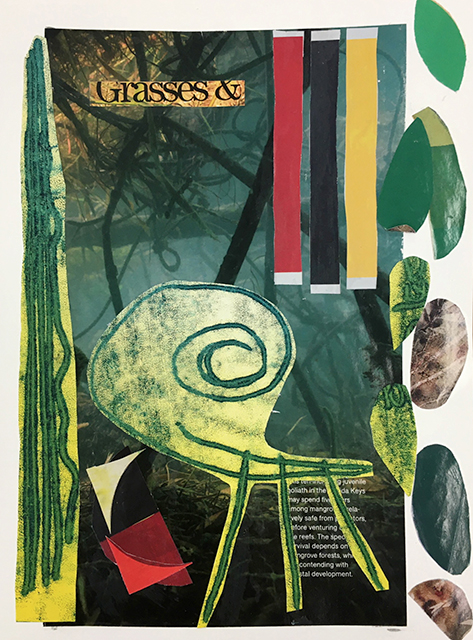
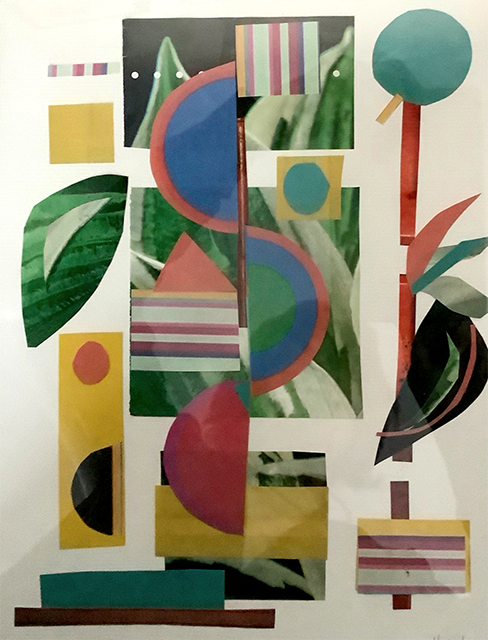
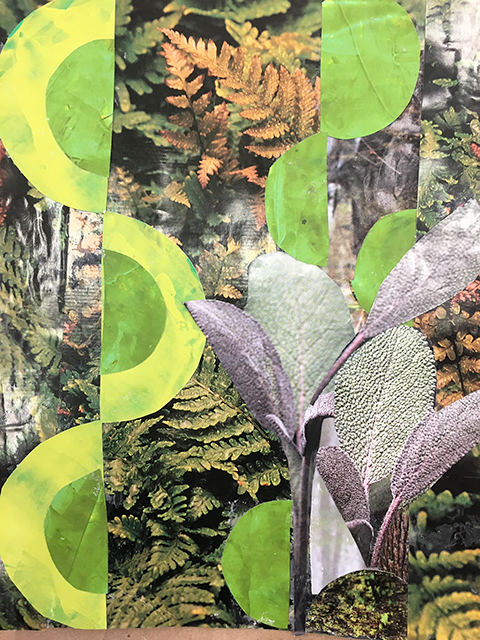
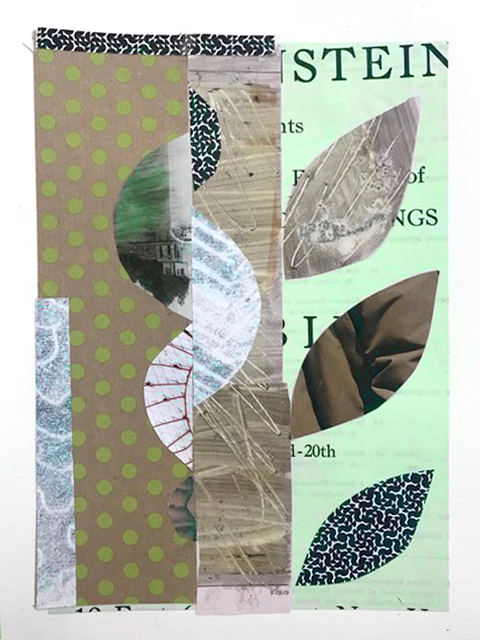
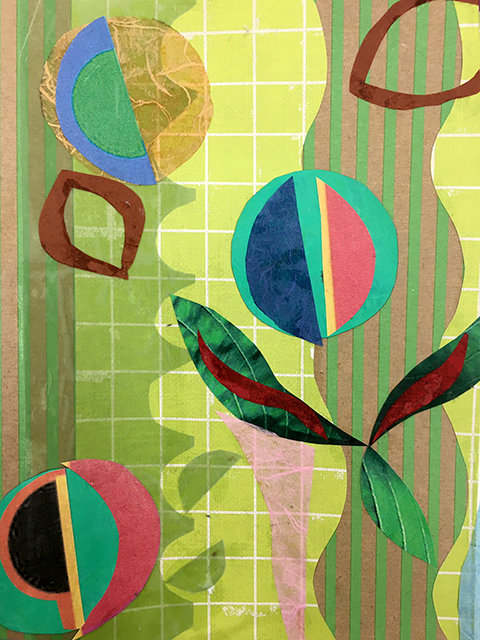
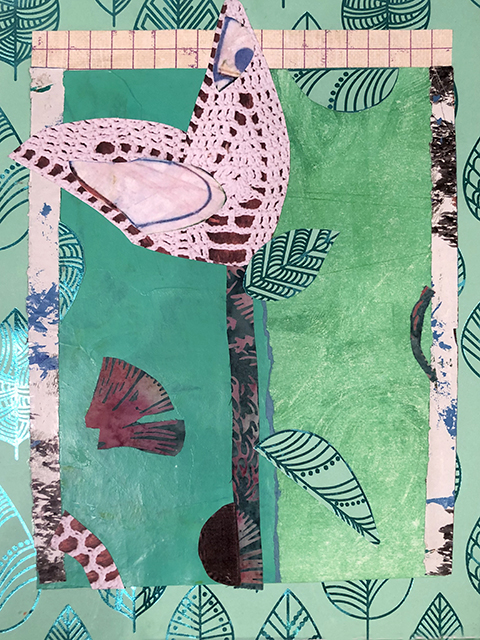
The images here include the ones I took in class and images I added when students emailed me image files. Ask me about the papers we used. One more thing: notice how every collage is different! At the end of every class, students comment, as they look at each other’s works, that every one is unique in spite of the fact that they are working with the same papers and inspired by the same works that are inspiration for the class project.. Create with Collage is a class about color, design and learning to see – and being inspired by collage and art history. Your comments and questions are welcome.
Leave a Reply