Hidden Face Collage e-workshop
on April 28, 2020
with No Comments
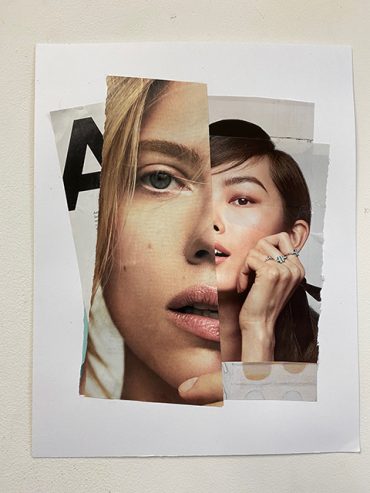
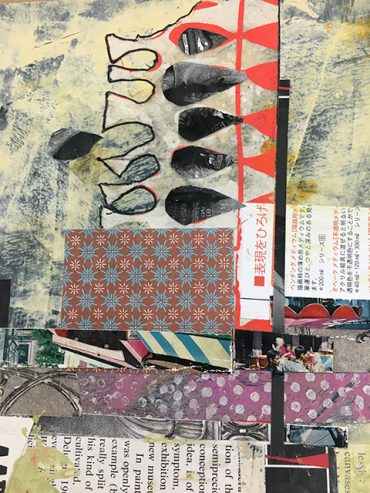
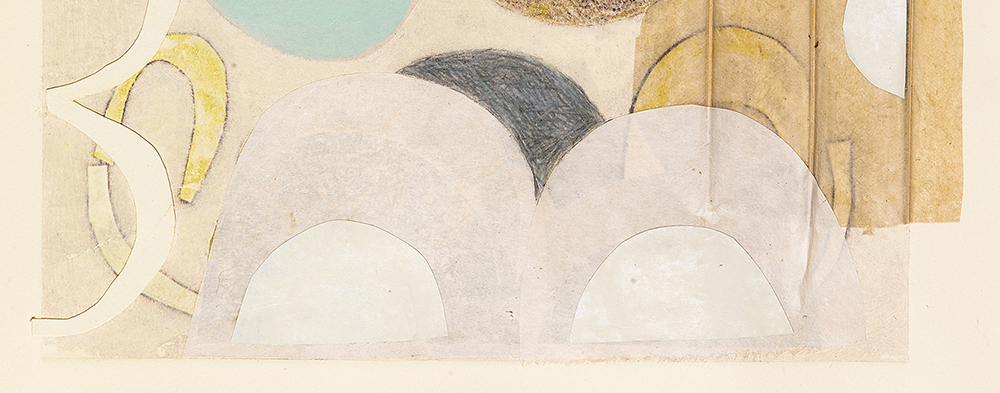
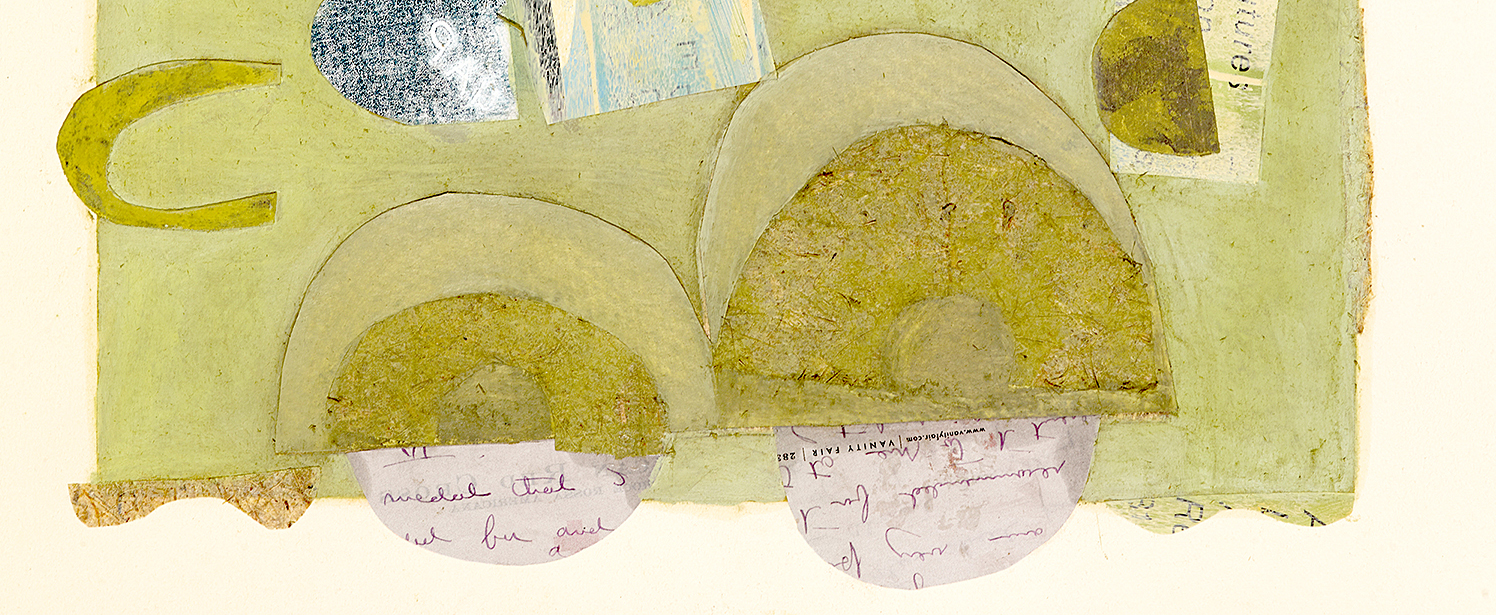
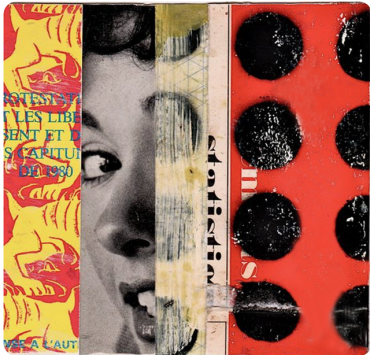
I found an image at Pinterest that inspired me to make 4 more collage portraits for an e-workshop for students. Every portrait has a magazine face or body … Read More